Good Measuring Practice in roofing industry - Part 2
As in Good measuring Practice in Contruction – part 1 , the aim of this article is to promote ‘measurement awareness.’ It also gives an insight into the other areas affecting effective construction measurement such as calibration.
Calibration
ISO 9001:2008 Quality management systems - requirements : Clause 7.6 Control of monitoring and measuring devices states that, where necessary to ensure valid results, measuring equipment shall :
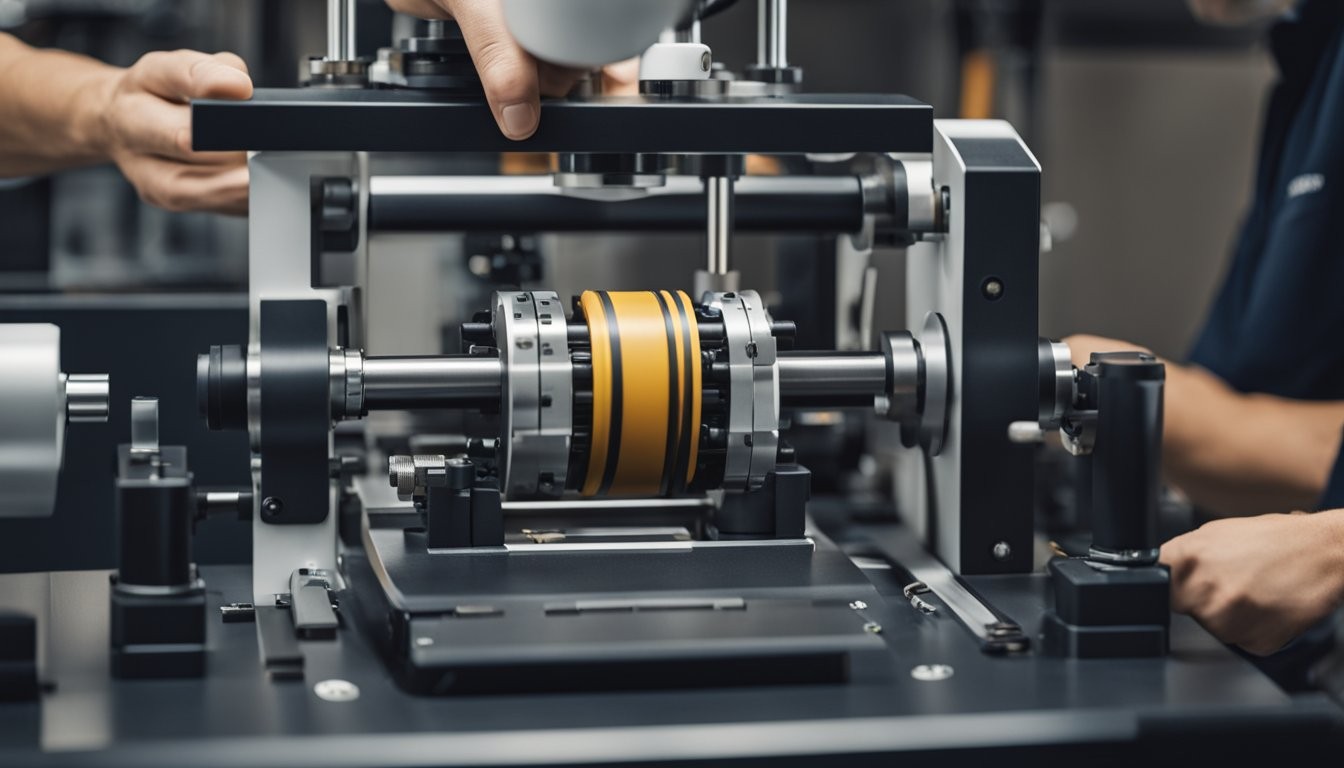
“…a) be calibrated or verified at specified intervals, or prior to use, against measurement standards traceable to international or national measurement standards; where no such standards exist, the basis used for calibration or verification shall be recorded;
b) be adjusted or re-adjusted as necessary;
c) be identified to enable the calibration status to be determined;
d) be safeguarded from adjustments that would invalidate the measurement result;
e) be protected from damage and deterioration during handling, maintenance and storage.
In addition, the organization shall assess and record the validity of the previous measuring results when the equipment is found not to conform to requirements. The organization shall take appropriate action on the equipment and any product affected. Records of the results of calibration and verification shall be maintained…When used in the monitoring and measurement of specified requirements, the ability of computer software to satisfy the intended application shall be confirmed. This shall be undertaken prior to initial use and reconfirmed as necessary...”
For more information see ‘Calibration’
Ensure the instrument is in good condition
All instruments such as pull testers should be prepared before starting a test.
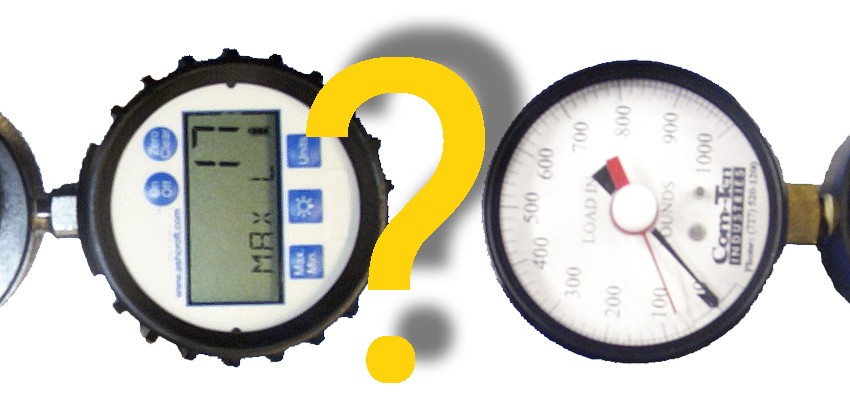
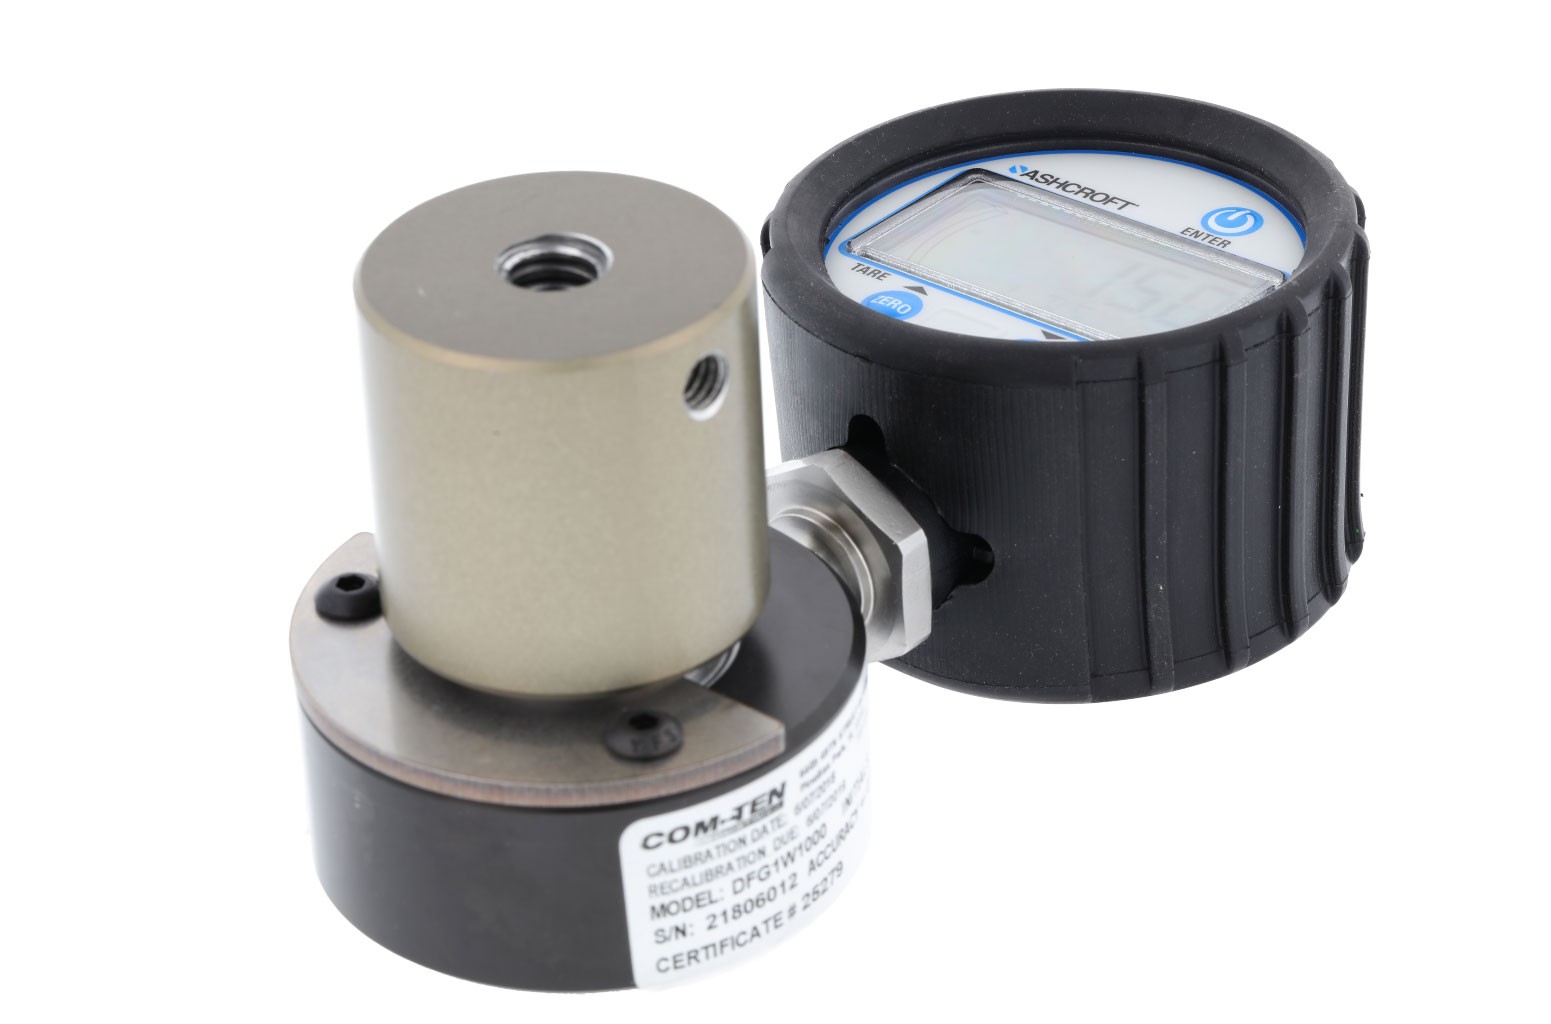
- The general condition of the instrument and its accessories should be checked to ensure they are good with no oil marks or damaged lifter feet.
- Battery condition should be checked
- The last calibration date should be noted to confirm when annual recalibration is due.
Operate in suitable external conditions
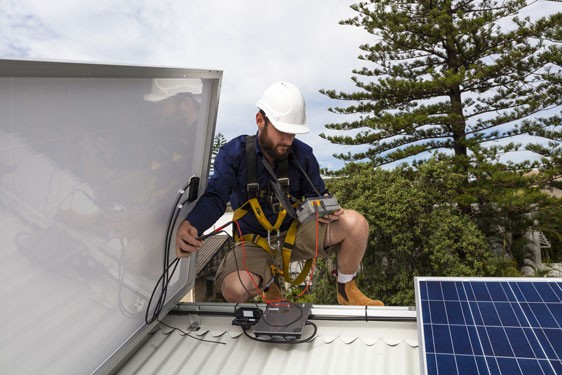
Be aware of the weather conditions that may affect displayed values and hence measurement results. Pull testers are only designed to be used for construction measuring in the 40°F - 100°F external temperature range.
Measurement operational sequence
Refer to the instrument’s operating manual prior to use to establish the required measurement operational sequence to be taken, and in the case of a pull-tester, perform the steps outlined here:
Before Testing
- Ensure the base of the pull tester is in a stable position.
- Ensure the lifter foot is well adjusted on the sample.
- Return to zero, either by pressing the zero key or by placing the red needle at zero.
During Testing
- Pull slowly with constant pressure and check that the force is still in a vertical position.
- If you notice either lifter foot not gripping a sample correctly, or a sample is slipping out, stop pulling and start the test again.
- Each time, carefully record the value read in a test report.
After Testing
- When a test is complete put the unit in its dedicated carrying case (do not use standard luggage).
- COM-TEN foam-lined pull tester carrying cases protect a unit during travel, protecting it against life-long transportation hazards.
- Check the next calibration date and anticipate the pull tester unit being shipped to and from COM-TEN well ahead of the day it is needed. To send it to COM-TEN, disassemble the gauge from the frame as per the manufacturer’s instructions, keep the frame and the carrying case and send the gauge by itself, reporting any detectable damage.
See ‘Pull tester operating manual’ for further information.
COM-TEN technicians will send an instrument diagnostic before carrying out recalibration work, the decision to instruct recalibration remains yours – only you know the importance of the results, or conversely, what effect a pull tester force value error will have, either from a safety, construction or financial point of view - but as a rule of thumb, based on international standards, expect a need to recalibrate annually.
Ref: “Good Measurement Practice” R Benyon INTA, L B Cronin, D S Mills and A D Skinner MBE Consultants LBCS Ltd
