Good Measuring Practice in roofing industry - Part 1
In their paper “Good Measurement Practice” Benyonv, Cronin, Mills and Skinner state that,
“…reliable measurement underpins most of the activities of mankind...for example, measuring instruments are used…to ensure the quality of the product is satisfactory. It is essential for international trade that all measuring instruments throughout the world should be based on a compatible system of measurement; this is achieved by calibration, traceability and good measurement practice...”
They go onto to say that the aim of their paper is to promote ‘measurement awareness.’ The aim of this 2-part article series likewise serves to promote this.
For whatever reason construction measurement is needed, and in whatever conditions, whether to evaluate building work done, to enable decision-making on building work to be approved or to prove that building work has been done well, it is critical that measurement is done unquestionably well. Doubt in the accuracy of measurements is entirely unacceptable.
Benyonv, Cronin, Mills and Skinner also stated “that one major area, where good measurement practices need to be improved, is with the user” and that the “use of equipment for its intended purpose” is a relevant aspect to this. This is explained further here.
In order for measurement to be done effectively, the first thing to be taken into consideration is the choice of measuring tool used.
Use the right tool fit for its intended purpose
There are three steps to ensuring that a pull tester is fit for its intended purpose:
- Determine the maximum applicable force
At the ontset, determine what an expected maximum applicable force is in lbs from the relevant pull tester manufacturer’s information, which is to say,
- obtain the force withdraw from a fastener manufacturer
- obtain the break force from a material manufacturer
- obtain the bond force from a coating or adhesive manufacturer
- obtain the adhesion force from a membrane manufacturer
- obtain the compression force from a foam manufacturer
If maximum expected force values are presented in pounds per square inch (psi), please read our article ‘From PSI to lbs’ (add link) to determine a value in pounds (lbs). Once this is obtained, check if the pull tester can hold the applicable force.
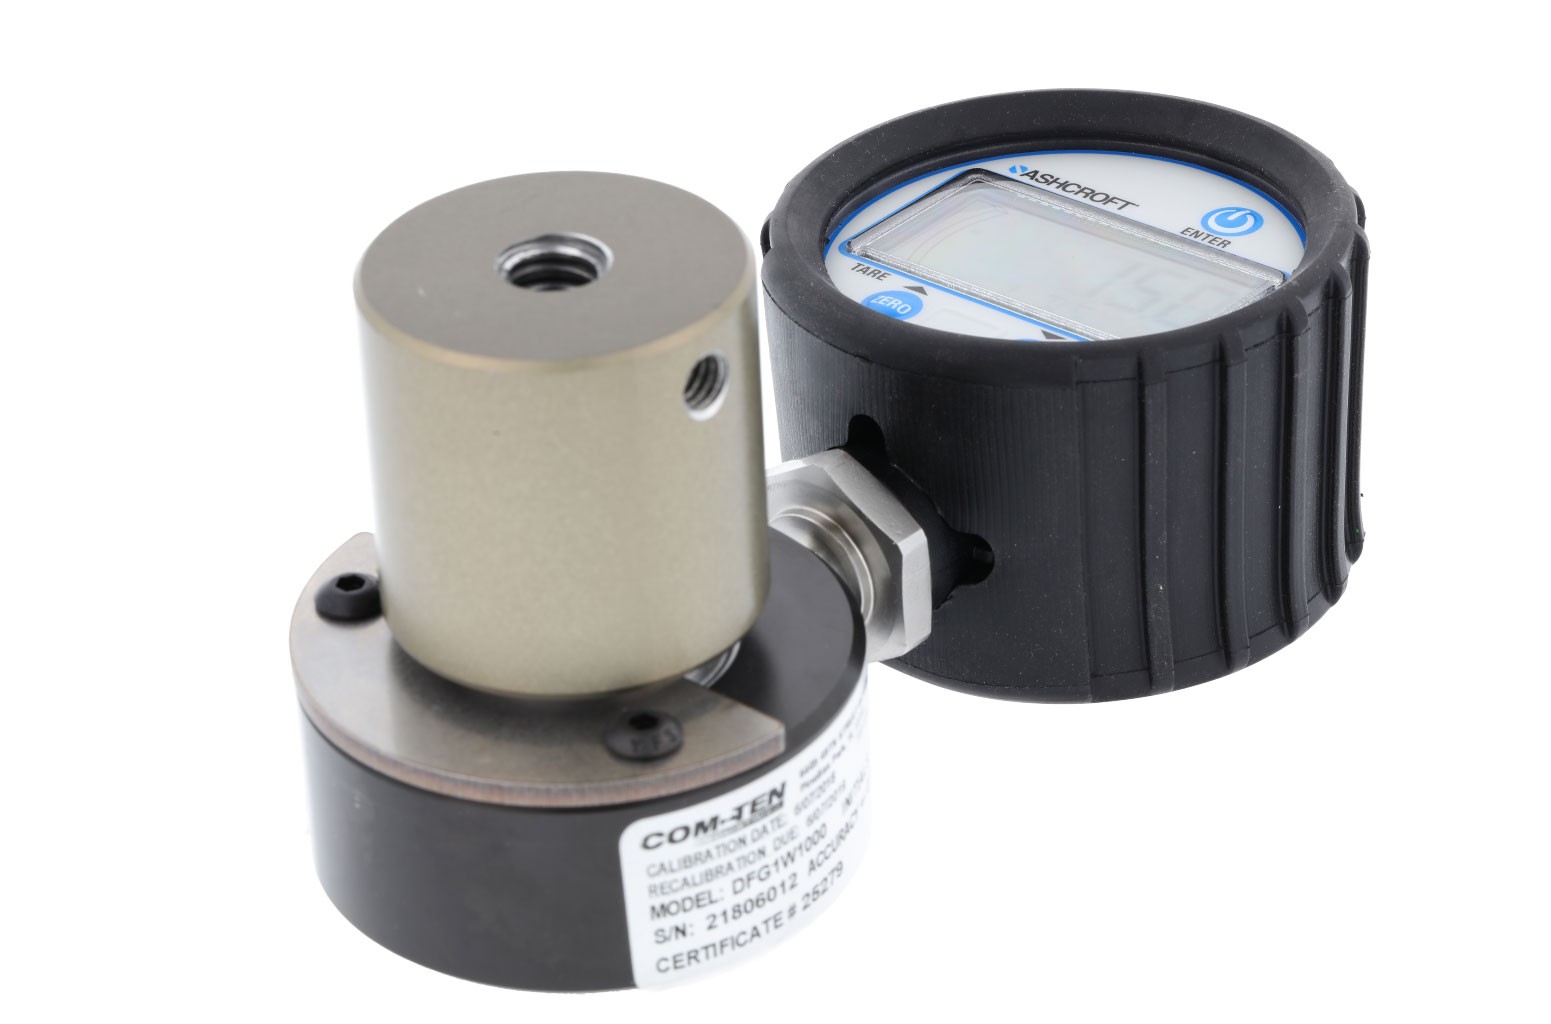
ISO/IEC Standard 17025: 2005 specifies the measurement system requirements that accredited manufacturing laboratories are to meet and each pull tester model number usually represents the maximum force acceptable for that tester. For example a COM-TEN Extractor 2000 will accept up to 2000lbs for accurate readings.
- Check the maximum capacity of the pull tester.
It is important to note that pull tester force sensors do not accept overloads, they should be fit for their intended purpose. Applying a force higher than the maximum capacity can destroy an instrument.
The maximum capacity of the pull tester is quite straightforward to check. Once you know the expected maximum applicable force, follow some basic rules of thumb:
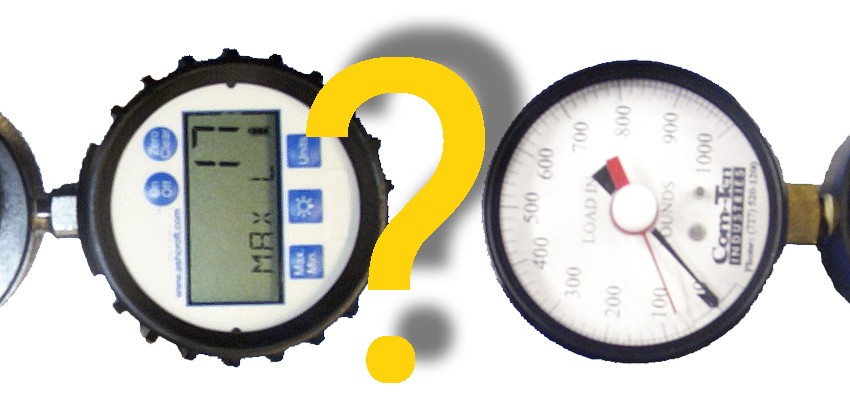
- When using an analog read out (accuracy +/-3%)
The maximum expected force should be 20 - 80% of the maximum capacity of the readout
- When using a digital read out (accuracy +/- 0.5%)
The maximum expected force should 10% - 80% of the maximum capacity of the read out.
The 80% upper limit is set to allow some margin in case samples are stronger than expected which can happen.
Using these rules a gauge will never be overloaded. If however the force becomes particularly close to the maximum capacity, stop the test before reaching the maximum capacity to avoid damaging the instrument.
- In the lower range too….Check if tool is fit for your purpose
Conversely, avoid using a strong pull tester to measure small forces. A scale for elephants will not display the weight of a mouse! As a rule of thumb, avoid using a pull tester on the first 10% of the force range. For example, refrain from using a COM TEN Extractor 2000 pull tester for forces under 200 lbs.
For an insight into the other areas affecting effective construction measurement, including issues regarding calibration, please read the sequel article “Good Practice in Construction Measuring – Part 2“(add link).
Ref: “Good Measurement Practice” R Benyon INTA, L B Cronin, D S Mills and A D Skinner MBE Consultants LBCS Ltd
